Sometimes, when working with the mesa drivers, modifying or replacing a shader might be extremely useful for debugging. Mesa allows users to replace their shaders at runtime without having to change the original code by providing these environment variables:
MESA_SHADER_READ_PATH and MESA_SHADER_DUMP_PATH
Example usage:
In the following example we are going to use these two environment variables with a small OpenGL program called demo.
Step 1:
We create a directory (tmp) to store the shaders and two more directories read and dump inside it:
|
1 2 3 |
tmp/ ├── dump └── read |
It’s necessary that these dump and read directories exist before running the program that will be debugged (the demo in our case).
Step 2: We export the environment variables:
export MESA_SHADER_READ_PATH=tmp/read

export MESA_SHADER_DUMP_PATH=tmp/dump
the first one sets the directory where the mesa driver will look for replacement shaders whereas the second one sets the directory where the shaders will be dumped.
Step 3: We run the program once to dump its original shaders inside the tmp/dump directory:
|
1 |
./demo |
Step 4: We copy the shaders from the dump directory to the read directory and then we modify the ones in the read directory:
cp tmp/dump/* tmp/read/
It is important not to change the filenames of the shader files. After this step both directories should contain some shaders with long names similar to these:
|
1 2 3 4 5 6 7 8 9 10 11 |
tmp/ ├── dump │ ├── FS_41bfd6998229f924b0bc409fafc85043d0819adc.glsl │ ├── FS_efc090363ee2378fbae150e66f53a891e072e983.glsl │ ├── VS_17c27d658ec6d02901f45c88b67111bd4ee955cb.glsl │ └── VS_9668281d927970b6ff023d45da67b38fc930dafe.glsl └── read ├── FS_41bfd6998229f924b0bc409fafc85043d0819adc.glsl ├── FS_efc090363ee2378fbae150e66f53a891e072e983.glsl ├── VS_17c27d658ec6d02901f45c88b67111bd4ee955cb.glsl └── VS_9668281d927970b6ff023d45da67b38fc930dafe.glsl |
As you can guess the VS_*.glsl are the program’s vertex shaders and the FS_*.glsl the fragment ones.
The reason that we see two VS_*.glsl (vertex shaders) and two FS_*.glsl (fragment shaders) in the dump directory, is that the demo program was originally using two vertex and two fragment shaders at the rendering.
We could see dumped shader names that start from GS, TC, TE, as well, for Geometry, Tesselation Control and Tesselation Evaluation, if the program was using such shaders.
Now, every shader in the read directory can be safely modified. I will only change one of the fragment shaders for simplicity.
The FS_41bfd6998229f924b0bc409fafc85043d0819adc.glsl is the dump of my original fragment shader with name sky.f.glsl, that was calculating the colors of the pixels of a skybox using this code:
|
1 2 3 4 5 6 7 8 9 10 11 |
#version 450 uniform samplerCube stex; in vec3 normal; out vec4 color; void main() { vec4 texel = textureCube(stex, normalize(normal)); color.rgb = texel.rgb; color.a = 1.0; } |
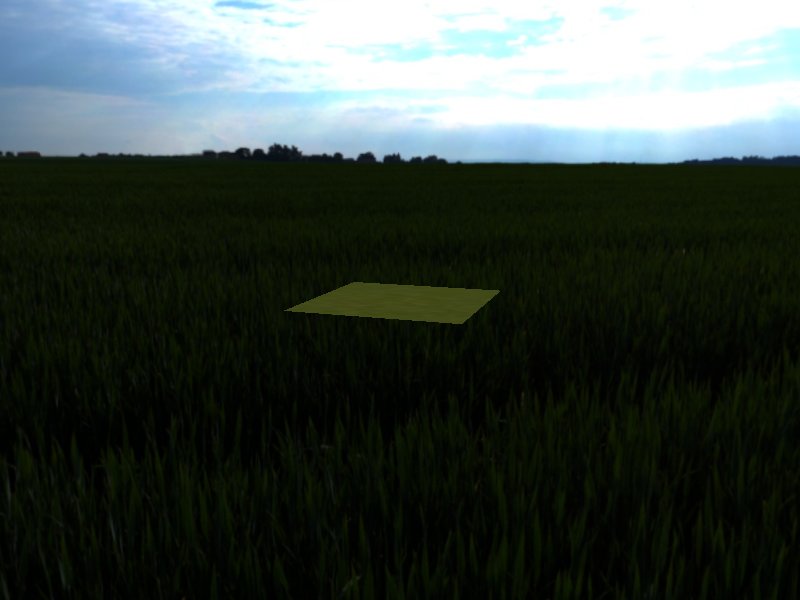
I used the sky.f.glsl fragment shader with some code that draws a green quad and the result was:

If we modify the tmp/read/FS_41bfd6998229f924b0bc409fafc85043d0819adc.glsl replacement shader to simply return blue like that:
|
1 2 3 4 5 6 7 8 |
#version 450 uniform samplerCube stex; in vec3 normal; out vec4 color; void main() { color = vec4(0.0, 0.0, 1.0, 1.0); } |
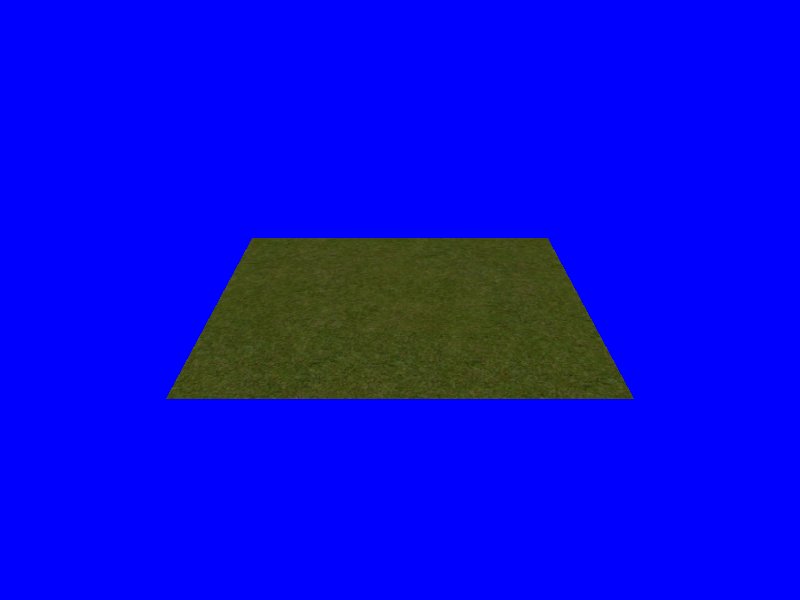
and run ./demo again, the result will be a blue sky, as expected:

We could safely play with any replacement shader in the read directory and then simply delete it. The demo program’s code would remain the same.
Let’s try a more interesting example with a more complex program, like blender.
We create the same directory tree, we export the variables and then we run blender (select the material and choose GLSL at the rendering options) to dump its default shaders and end up with a directory tree similar to this one:
|
1 2 3 4 5 6 7 |
tmp ├── dump │ ├── FS_e025add3a93498ca49ba96c38260c36138430d54.glsl │ └── VS_c5310c724728053b7bf1e0b1055546f530afa9ca.glsl └── read ├── FS_e025add3a93498ca49ba96c38260c36138430d54.glsl └── VS_c5310c724728053b7bf1e0b1055546f530afa9ca.glsl |
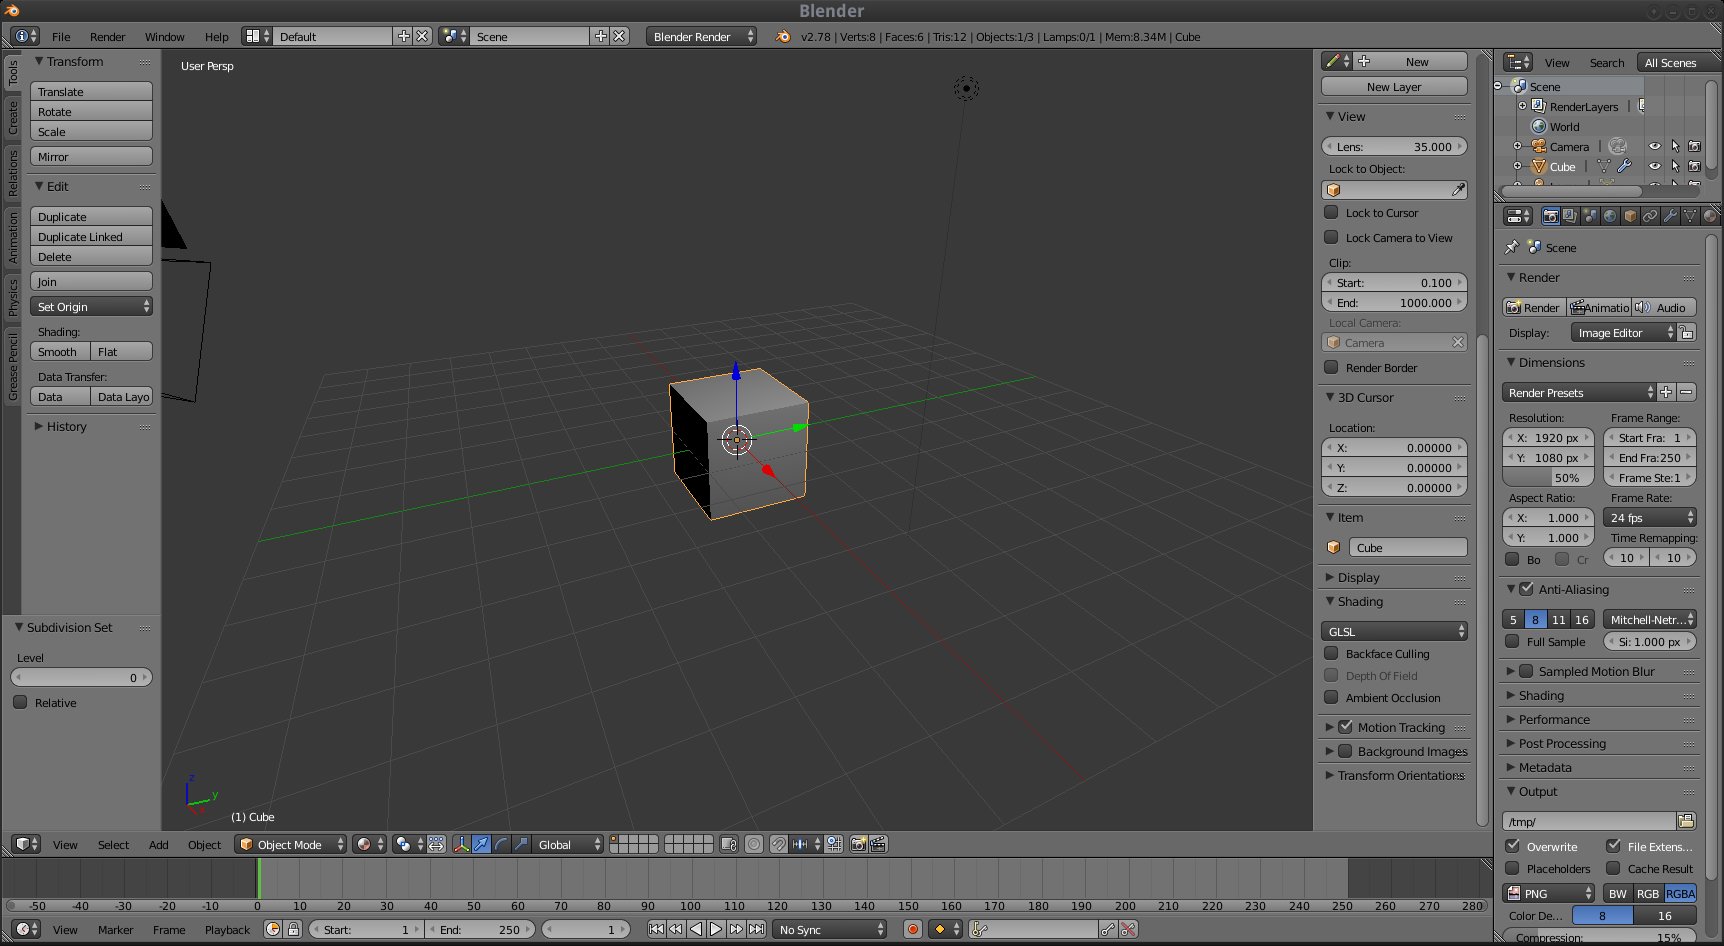
On the screen we see something like this:

that is the default blender scene.
We can then open the file:
tmp/read/FS_e025add3a93498ca49ba96c38260c36138430d54.glsl search for the main function. We will modify the output color by adding this line at the end of the function that sets the output color to pink:
gl_FragColor = vec4(0.84, 0.16, 0.63, 1.0);
The code will look like this:
|
1 2 3 4 5 6 7 8 9 10 |
[...] shade_add(vec4(tmp73, 1.0), tmp63, tmp76); mtex_alpha_to_col(tmp76, cons78, tmp79); shade_mist_factor(varposition, unf81, unf82, unf83, unf84, unf85, tmp86); mix_blend(tmp86, tmp79, unf89, tmp90); shade_alpha_opaque(tmp90, tmp92); linearrgb_to_srgb(tmp92, tmp94); gl_FragColor = tmp94; <strong>gl_FragColor = vec4(0.84, 0.16, 0.63, 1.0);</strong> |
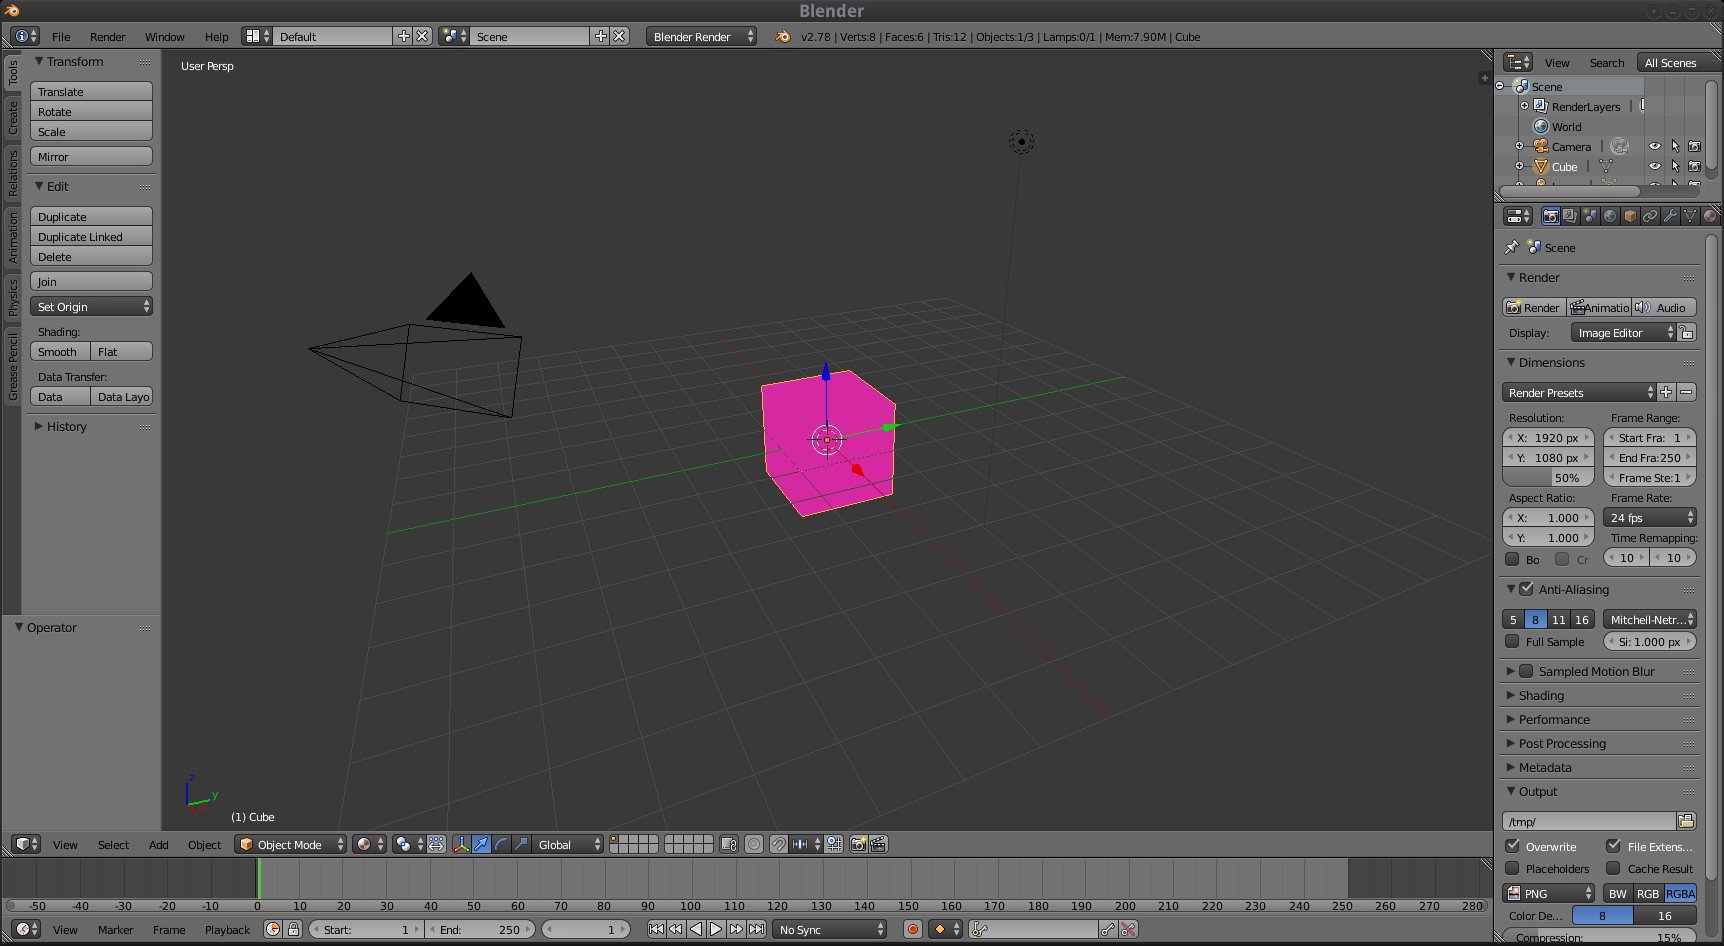
If we exit and run blender again, we’ll see that selecting the material makes the cube pink:
This is because the blender shader that calculates the material color is replaced by our read/FS_e025add3a93498ca49ba96c38260c36138430d54.glsl shader where we explicitely set the output color (gl_FragColor) to pink (0.84, 0.16, 0.63, 1.0).
Note: Mesa documentation mentions that we need to compile the mesa driver using the --with-sha1 option, for the environment variables to take effect. This option doesn’t seem to exist anymore but fortunately, the trick works without it and it seems that the only thing that we need to pay attention to, is to keep the replacement shader filenames in the read directory unchanged.
