This is my second post on BootBoot, the “boot loader” I am writing to load the real boot loader after displaying something on screen. I am writing this program for fun, and to learn the x86 assembly basics. I am trying to write one blog post per commit for me to remember what I’ve done next time I need to use assembly, and for any other assembly n00b out there who might be interested in reading my steps.
In this second post, I am going to extend the program of Part 1 to load the second sector, jump to it and clear the screen with a different color after that. If the displayed color is the new one I can validate the jump was successful.
More Debugging Tools:
In my last post I used qemu and nasm (assembler) for everything but as the complexity of the program slightly increased I needed to debug my code from time to time. For that I used a disassembler and GDB and added more rules in my Makefile:
|
1 2 3 |
.PHONY: disasm disasm: $(bin) ndisasm -b16 -o 0x7c00 $< > dis |
to disassemble the code with the ndisasm disassembler and:
|
1 2 3 |
.PHONY: debug debug: floppy.img qemu-system-i386 -S -s -fda $< |
to debug it.
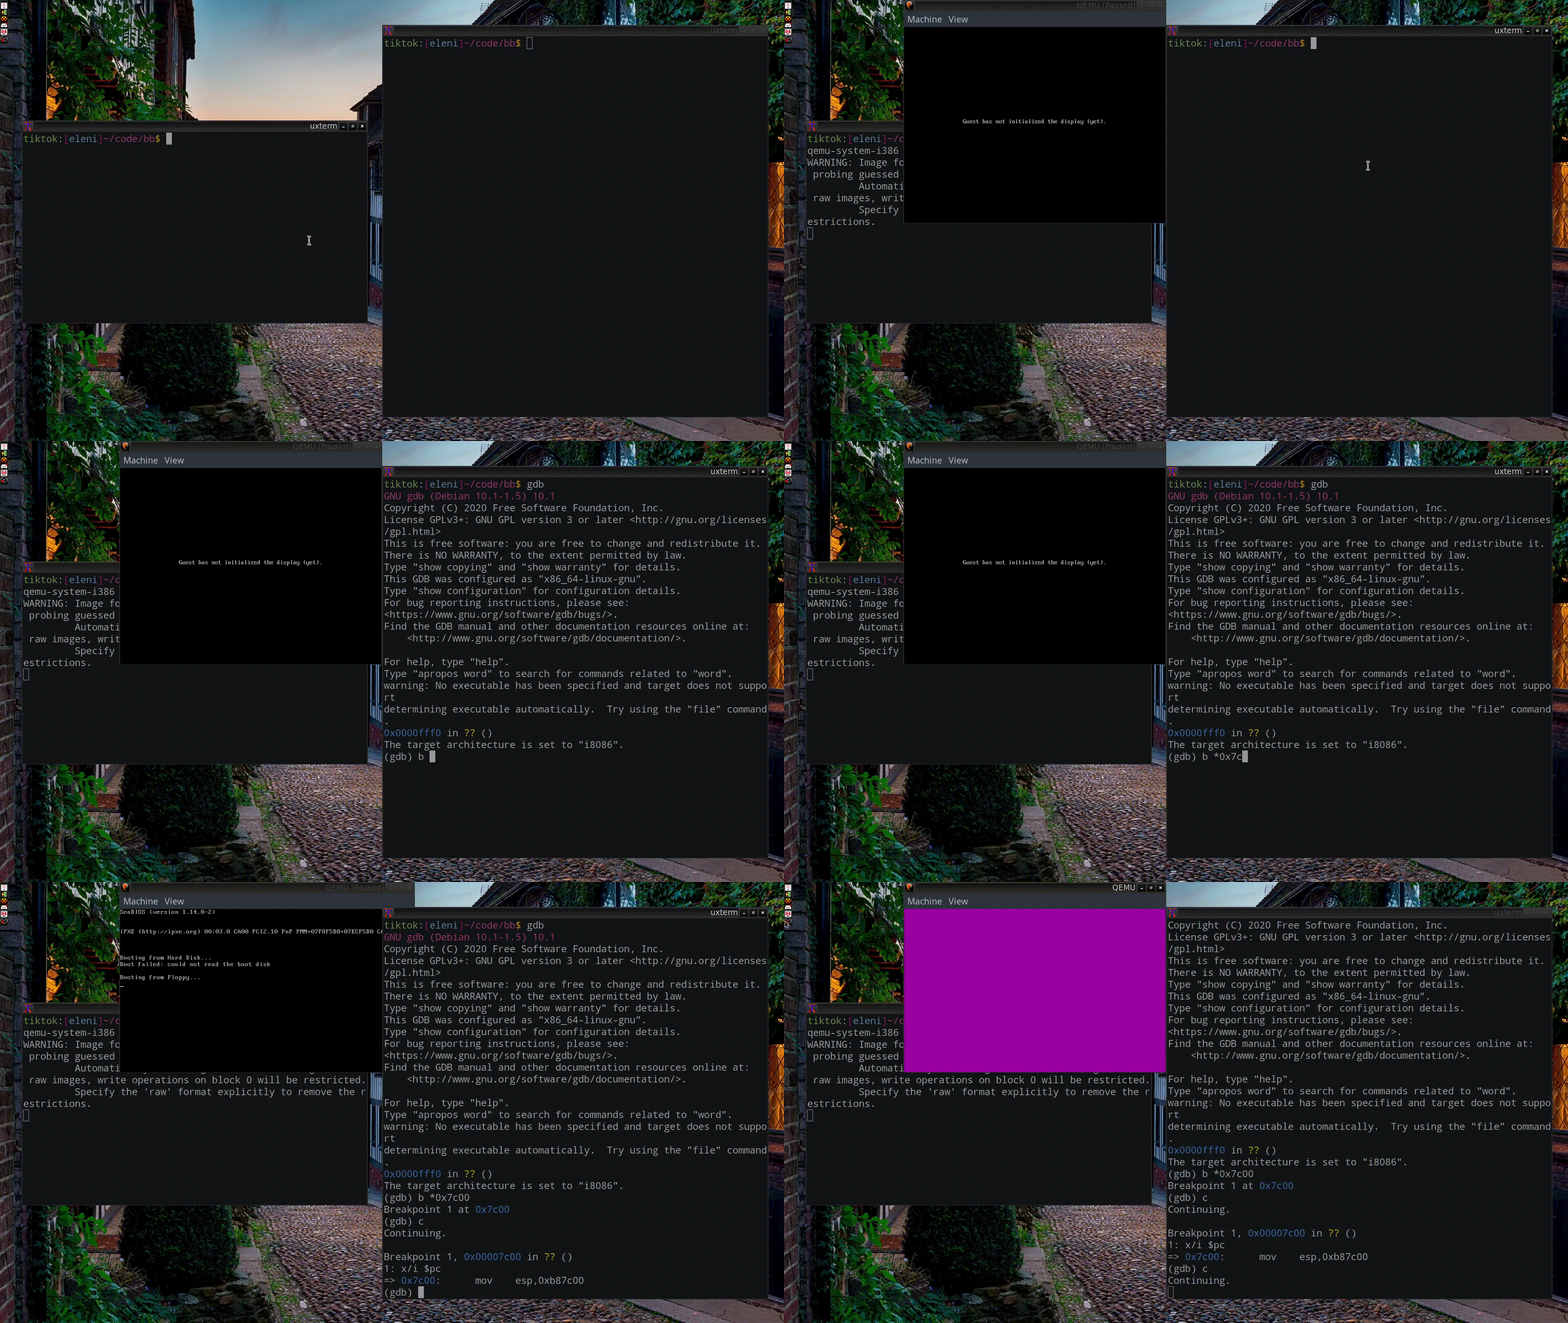
When I run qemu with make debug I can open gdb in a different terminal and the process will be automatically attached. Then, I can set a breakpoint in 7c00(remember this is the address where the assembler starts reading, explained in Part1), and step into the code.
I use the following .gdbinit in my bootboot directory to make sure GDB is in 16-bit mode and shows x86 assembly:
|
1 2 3 4 |
target remote localhost:1234 set architecture i8086 set disassembly-flavor intel disp/i $pc |
Example use:
I set a breackpoint in 0x7c00 and then stepped to next command using si. GDB displays the names of the registers like we were in 32bit mode ( eax is the 32bit ax and esp is the 32bit sp). I think this shouldn’t happen but I haven’t found how to change it yet… 😇 Since it steps correctly and can recognize the 8086 architecture I just ignored that initial “e” in registers names.
Code additions:
Let’s see how the program of Part 1 (check the end of the post) can be extended to read the 2nd sector and clear the screen with another color.
First of all we need to modify clearscreen to read the color from ax but not set it: we need to set it before we call it, to call it with different colors each time.
Therefore we change clearscreen from Part 1 to be:
|
1 2 3 4 5 6 7 |
clearscreen: push ax mov ax, 0a000h mov ds, ax mov di, 0 pop ax mov cx, 64000 |
(we use push and pop to preserve the previous ax content).
and we set the color in ax before calling clearscreen right after the int 10h interrupt (see Part 1):
|
1 2 |
mov ax, 3 call clearscreen |
Now let’s write the 2nd clearscreen that changes the cyan color to purple at the end of the program:
|
1 2 3 4 5 |
sector_2: mov ax, 5 call clearscreen .inf_loop: jmp .inf_loop |
In this snippet we set another color in ax (5 is a purple) and we call clear screen. Then we use an infinite loop similar to that of Part 1 which we must remove now to prevent the program from exiting before we see the color.
Next step is to load the second sector of the boot device and jump to it. We are going to use some segment registers for that (see Part 1 and links about x86 segmentation below).
First of all we initialize the segment registers to 0 (we can’t assign values to them directly as we’ve seen in Part 1, so we must use ax for that).
|
1 2 3 4 |
mov ax, 0 mov ds, ax mov es, ax mov ss, ax |
Then, we need to store the value that is currently in
dl (lower bits of
dx).
When the program execution begins, dl contains the device number from which the program was loaded (and the first sector in case of floppy disk). Then it gets overwritten while dx is used to store other values. In order to save the initial value we go somewhere at the end of the code and reserve one byte to save the initial value of dl. We do that in the end of the program to avoid jumping around it:
|
1 2 |
saved_drive_num: db 0 |
db is used to define a byte and fill its bits with 0.
Then we only need to do:
|
1 |
mov [saved_drive_num], dl |
to save the drive number at initialization.
At this point we can load the second sector from the boot device and jump to it.
To do so, we need to use the interrupt 13h that is for disk io and call the bios routine that loads sectors.
Let’s see the documentation for interrupt 13H again:
It seems that we need
Int 13/AH=02 - DISK to read sector(s) into memory from the list.
And according to the Int 13/AH=02 bios routine documentation:
We need to fill the following registers:
|
1 2 3 4 5 6 7 8 9 10 11 12 13 14 15 16 |
AH = 02h AL = number of sectors to read (must be nonzero) CH = low eight bits of cylinder number CL = sector number 1-63 (bits 0-5) high two bits of cylinder (bits 6-7, hard disk only) DH = head number DL = drive number (bit 7 set for hard disk) ES:BX -> data buffer Return: CF set on error if AH = 11h (corrected ECC error), AL = burst length CF clear if successful AH = status (see #00234) AL = number of sectors transferred (only valid if CF set for some BIOSes) |
and so we clear ax and we use it to also clear ds and:
- We set 02h in ax,
- we set
1in al as we want to read one sector, - we set
0to ch (lower 6 bits of cylinder number) because we don’t need them, - we set
2in cl because we want to use the 2nd sector - we set
0in dh (head number), - and the drive number we saved at the beginning to dl.
- Then we fill bs with our data: what follows the
sector_2label. - If there’s no carry in
cf, then we jump to
sector_2, otherwise we enter the infinite loop so that we can see the color of the first clearscreen (cyan) and know that we failed.
The code:
|
1 2 3 4 5 6 7 8 9 10 11 12 13 |
mov ax, 0 mov ds, ax mov ah, 02h mov al, 1 mov ch, 0 mov cl, 2 mov dh, 0 mov dl, [saved_drive_num] mov bx, sector_2 int 13h jnc sector_2 .inf_loop: jmp .inf_loop |
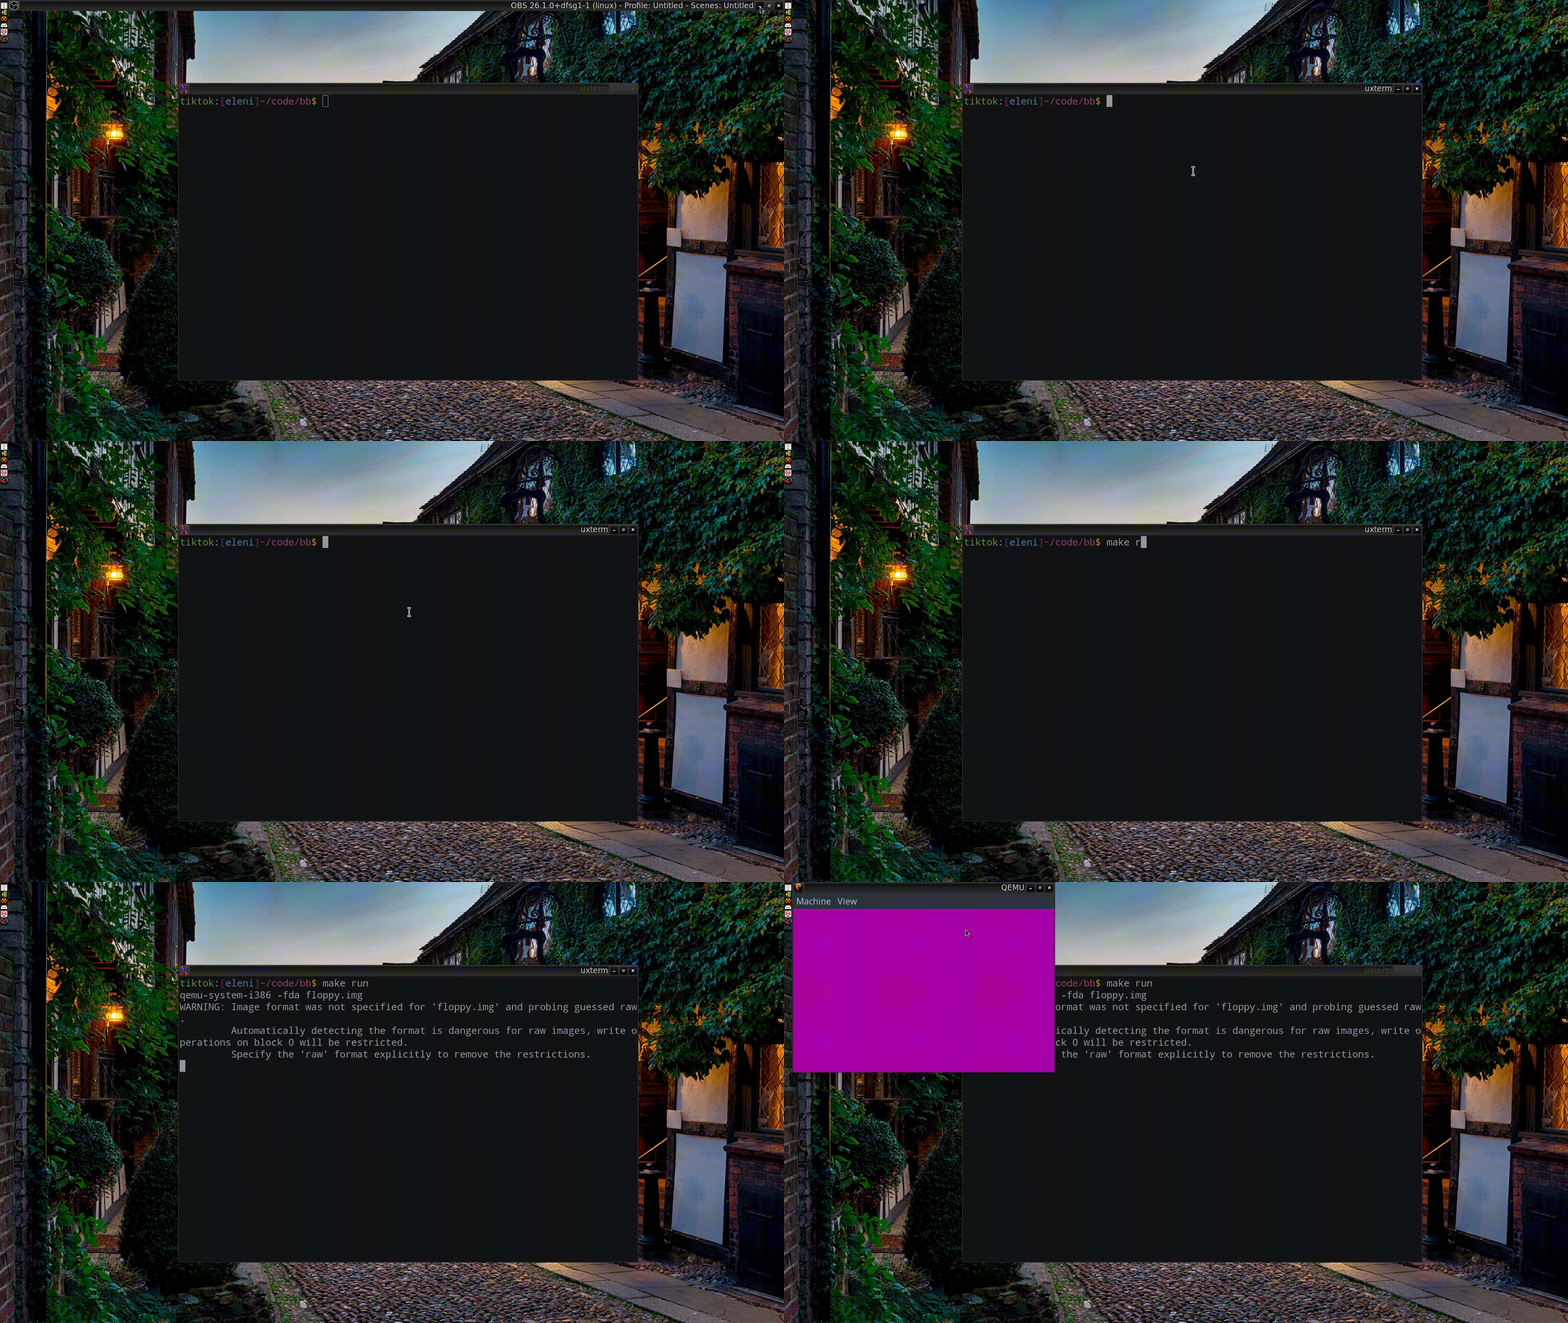
With that final change the program should clear the screen in cyan at the beginning and then in purple. If jump is successful we should see purple. If not, we see cyan.
Results:
Should be something like this:
On failure we should see the screen we were seeing in Part 1.
Code:
Makefile:
|
1 2 3 4 5 6 7 8 9 10 11 12 13 14 15 16 17 18 19 20 21 22 23 24 |
bin = bootboot ASFLAGS = -f bin $(bin): bb.asm nasm $(ASFLAGS) -o $@ $< floppy.img: $(bin) dd if=/dev/zero of=$@ bs=1024 count=1440 dd if=$< of=$@ bs=512 conv=notrunc .PHONY: disasm disasm: $(bin) ndisasm -b16 -o 0x7c00 $< > dis .PHONY: clean clean: rm -f $(bin) .PHONY: run run: floppy.img qemu-system-i386 -fda $< .PHONY: debug debug: floppy.img qemu-system-i386 -S -s -fda $< |
bb.asm:
|
1 2 3 4 5 6 7 8 9 10 11 12 13 14 15 16 17 18 19 20 21 22 23 24 25 26 27 28 29 30 31 32 33 34 35 36 37 38 39 40 41 42 43 44 45 46 47 48 49 50 51 52 53 54 55 56 57 58 59 |
org 7c00h bits 16 start: mov sp, 7c00h mov ax, 0 mov ds, ax mov es, ax mov ss, ax mov [saved_drive_num], dl mov ax, 13h int 10h mov ax, 3 call clearscreen mov ax, 0 mov ds, ax mov ah, 02h mov al, 1 mov ch, 0 mov cl, 2 mov dh, 0 mov dl, [saved_drive_num] mov bx, sector_2 int 13h jnc sector_2 .inf_loop: jmp .inf_loop clearscreen: push ax mov ax, 0a000h mov ds, ax mov di, 0 pop ax mov cx, 64000 .loop_begin: mov [di], al inc di dec cx jnz .loop_begin ret saved_drive_num: db 0 times 510-($-$$) db 0 dw 0aa55h sector_2: mov ax, 5 call clearscreen .inf_loop: jmp .inf_loop |
.gdbinit:
|
1 2 3 4 |
target remote localhost:1234 set architecture i8086 set disassembly-flavor intel disp/i $pc |
That’s it! In the next post, we are going to use the keyboard!
Links:
Previous posts on BootBoot:
[BootBoot] Part 1: Boot from a floppy drive and clear the screen
Other:
[1]: Ralf Brown’s Interrupt List
[2]: Mode 13h in Wikipedia
[3]: X86 memory segmentation
[4]: NASM – The Netwide Assembler
[5]: The Netwide Disassembler, NDISASM
[6]: Int 13/AH=02h: Read disk sectors into memory

